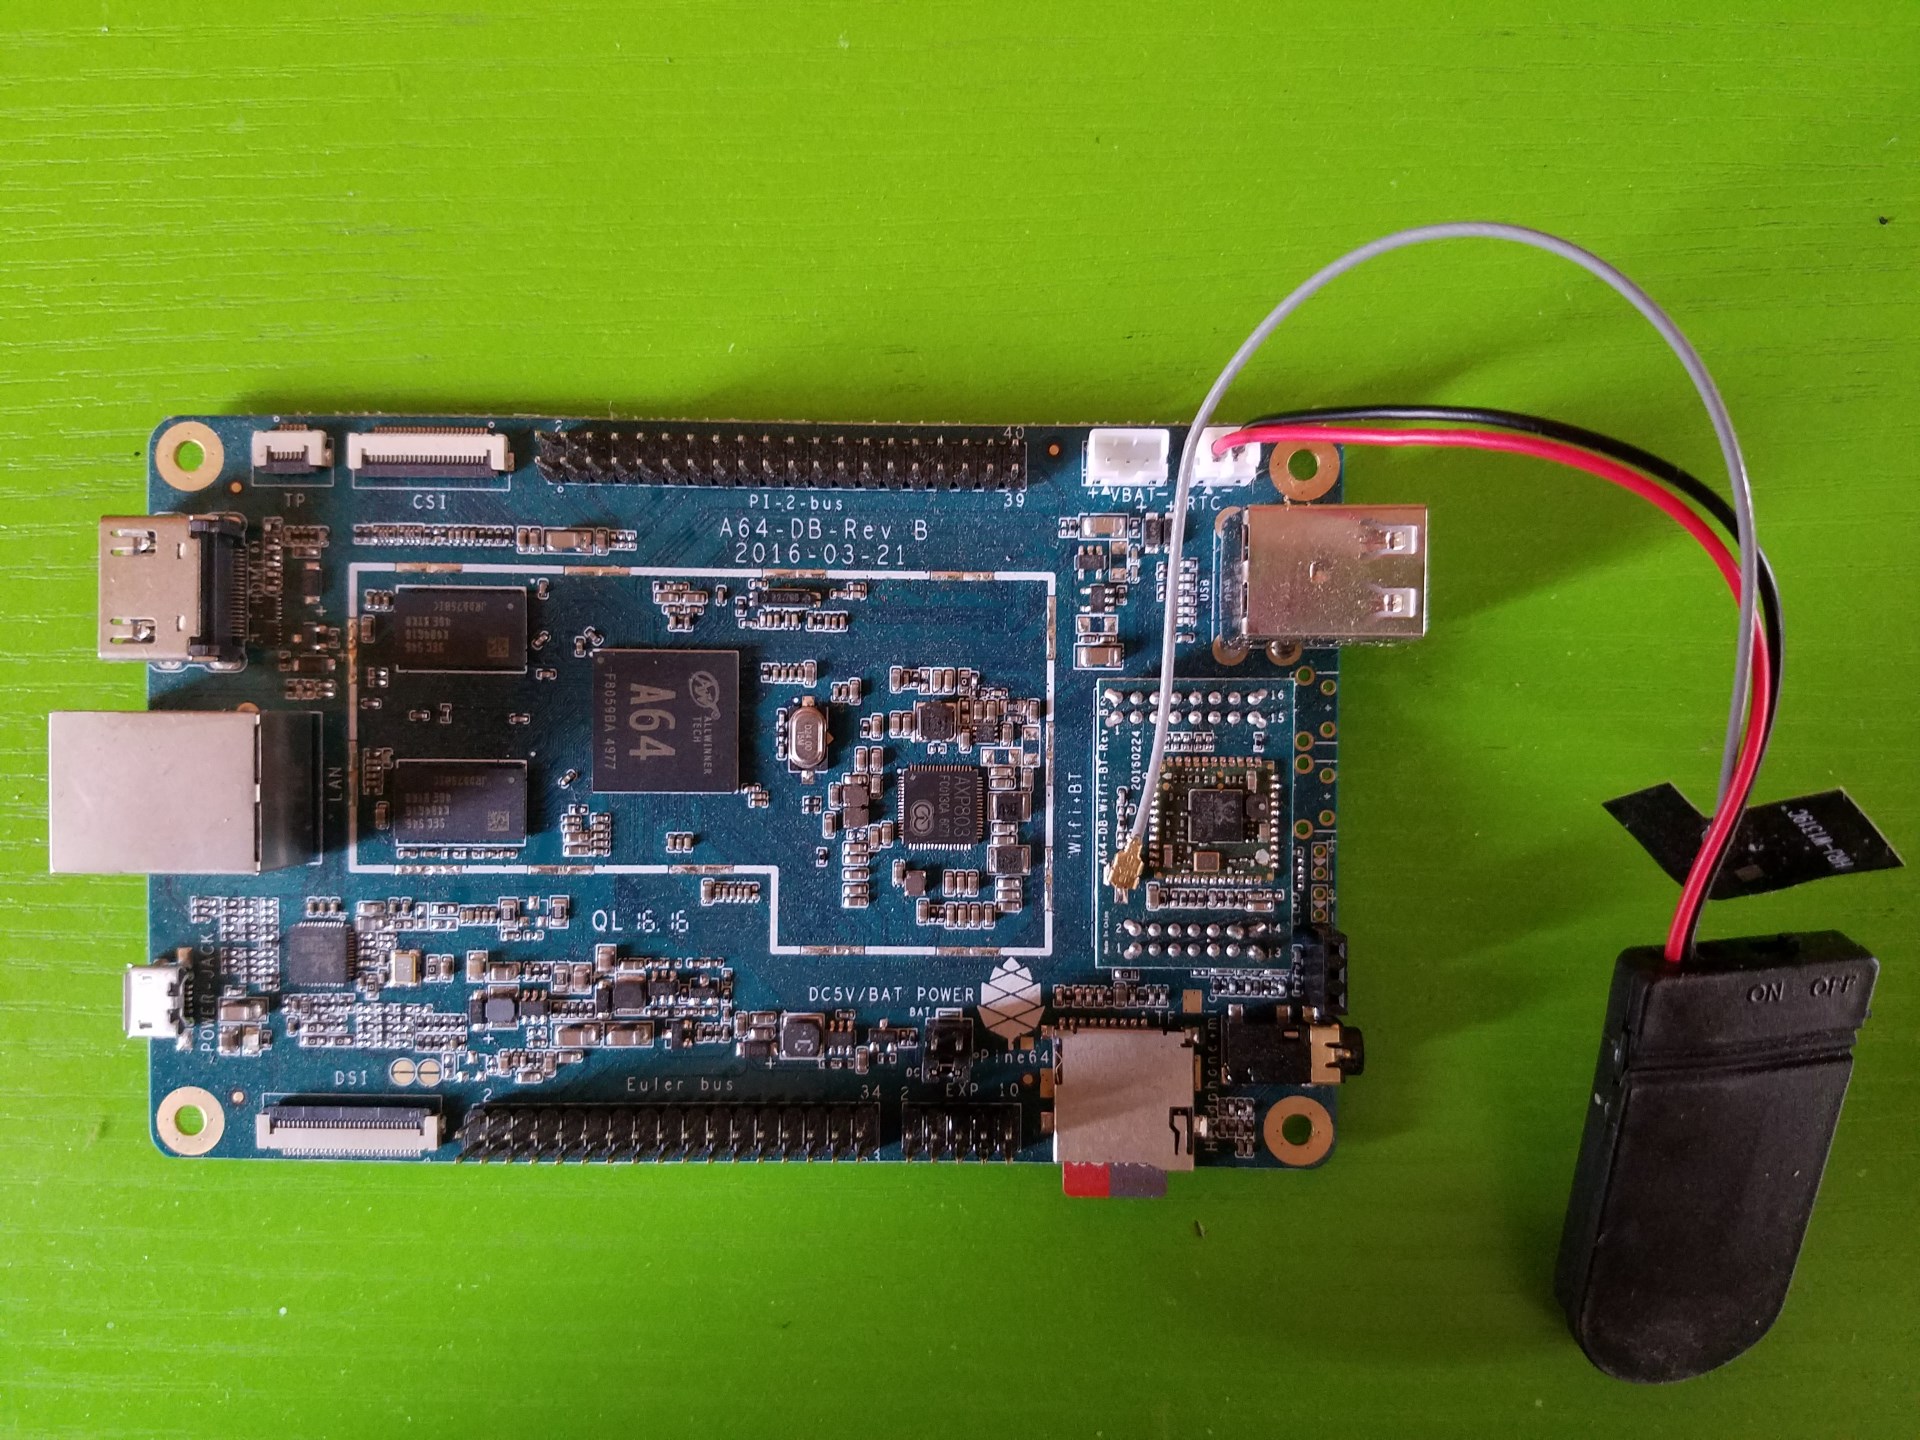
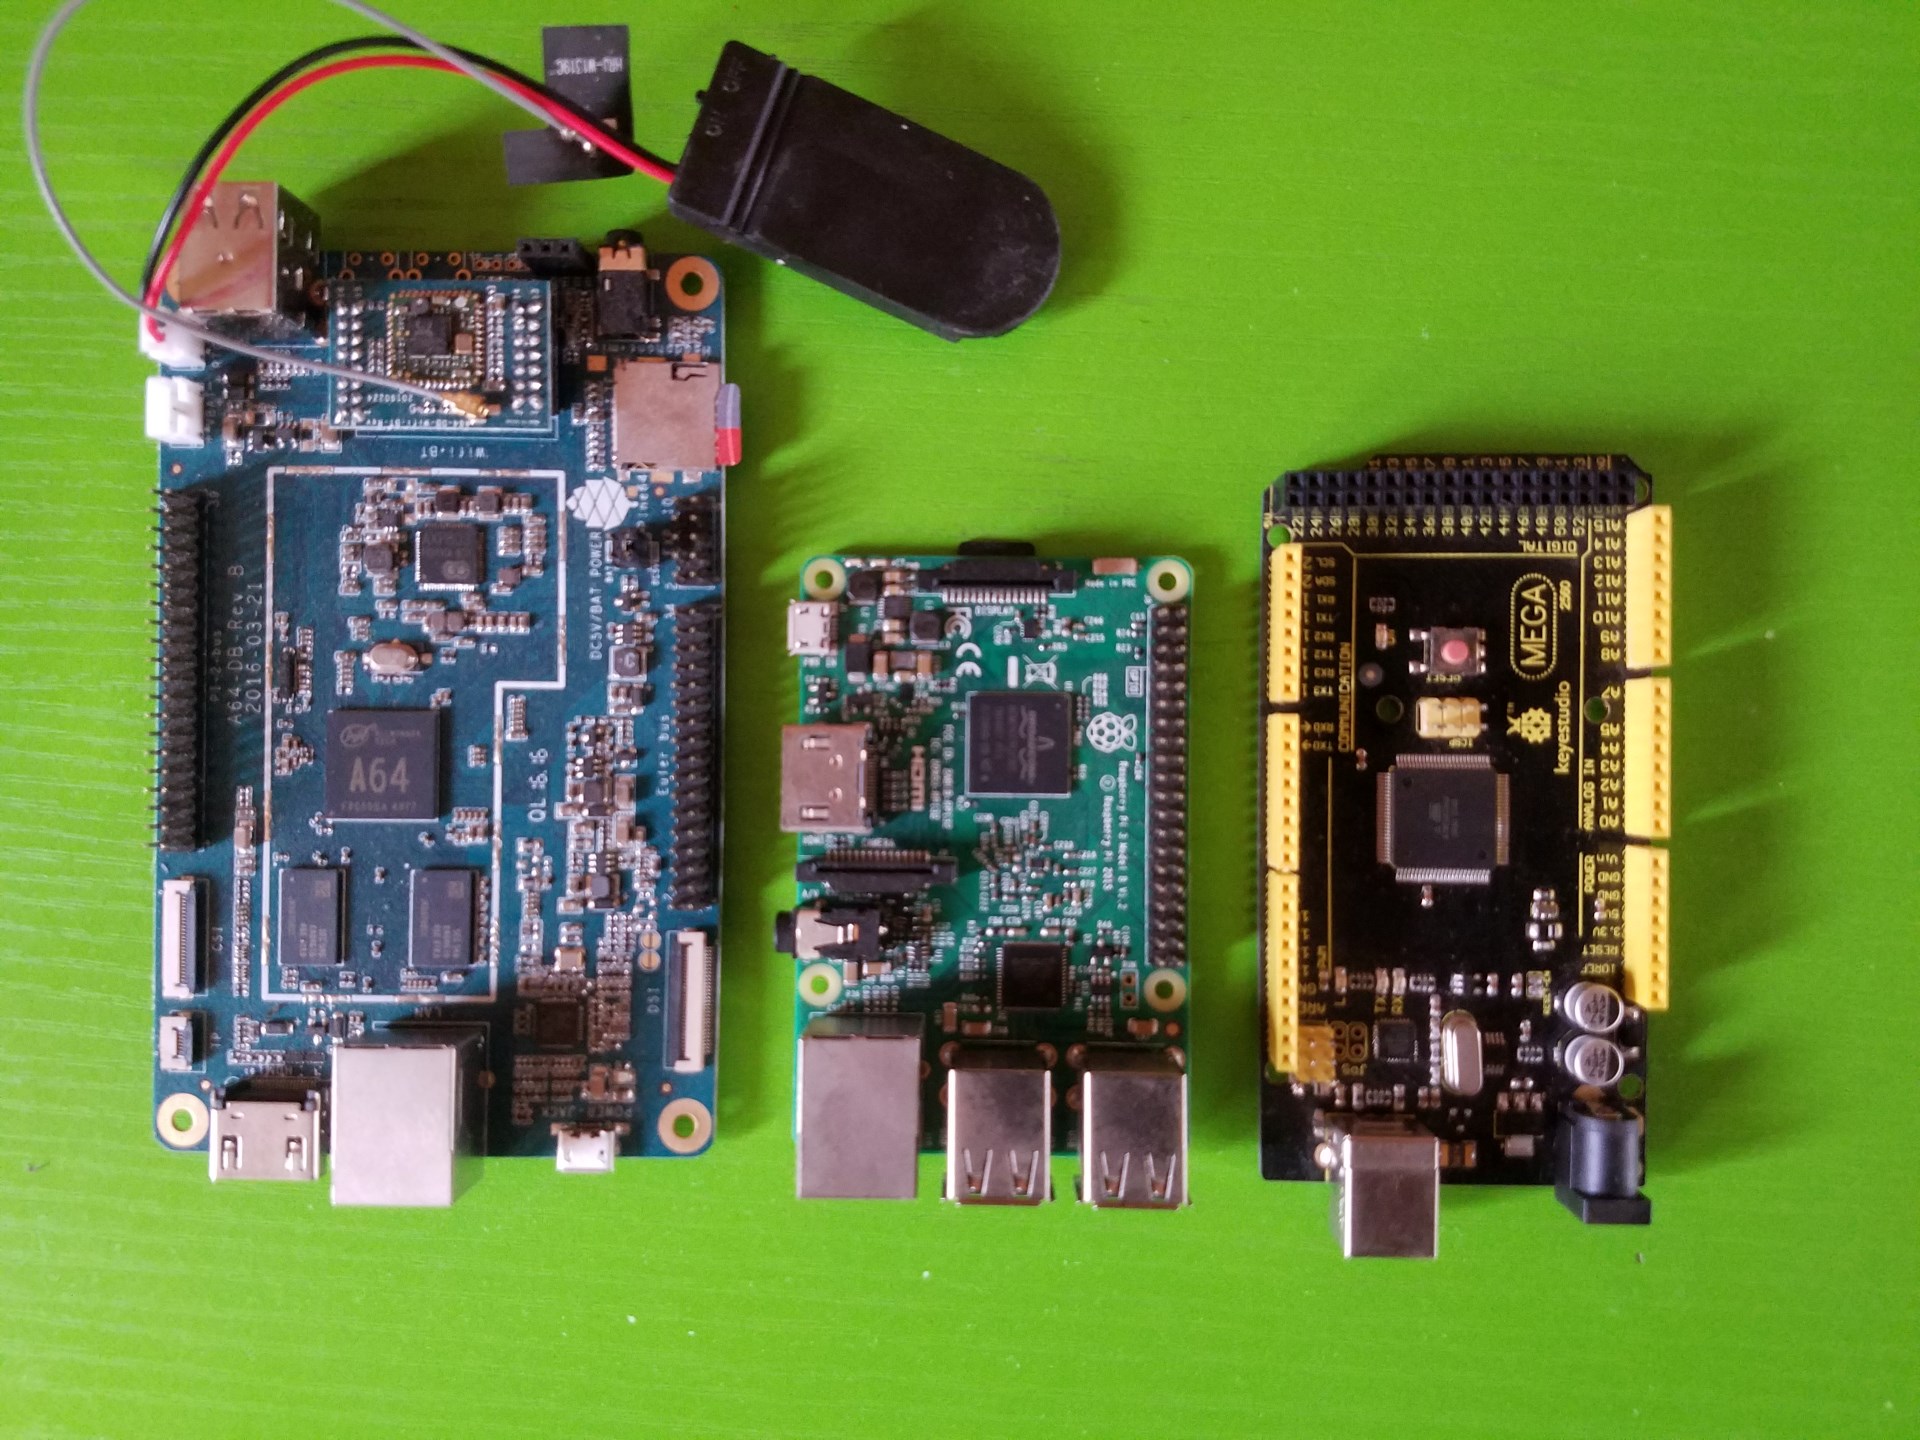
It’s taken quite a while for my PINE64 to arrive. Apparently, the shipping was delayed because the addon camera module was not ready yet. Quite disappointing, but I guess it’s to be expected since it’s a Kickstarter project. In the mean time, I decided to grab a Raspberry Pi 3 so that I could start off with my autonomous robot project.
I started off with the Raspbian Jessie Lite image which is a 292MB download (May 2016 version). Got it set up on a Sandisk 32GB microSD card and booted it up. I was planning to connect to it using a USB to TTL serial cable as I don’t have any USB peripherals available, nor an Ethernet cable. The plan was to configure the wireless connection so that I could SSH into it (and use X forwarding for GUI applications) once it booted. This did not go smoothly, and it took quite some time to figure out since a lot of the information online only applies to the earlier Pi models.
It turns out the default Raspbian image for the Pi 3 does not support serial connections out of the box due to the in-built Bluetooth module, so I had to make some adjustments to get this to work. Hence, this is sort of a beginner’s mini guide to working with a headless Raspberry Pi 3. The following instructions will require a Linux box.
So how do you get Pi 3 serial to work?
Note that these instructions are based on the May 2016 Raspbian Jessie Lite image. I mounted the SD card on my laptop’s Ubuntu installation, and had to chroot into it (following instructions at https://hblok.net/blog/posts/2014/02/06/chroot-to-arm/) to run a few updates. Inserting the SD card will create 2 mount points: the /mnt/boot/ partition and the main partition which we’ll refer to as /mnt/main/ (note that the path to the mount points may be different depending on your Linux distribution, so verify). After mounting, run the following commands.
Before you can chroot, you need to be able to run ARM binaries using qemu.
| sudo apt-get install qemu-user-static sudo cp /usr/bin/qemu-arm-static /mnt/main/usr/bin sudo cp /etc/resolv.conf /mnt/main/etc/resolv.conf sudo mount -o bind /mnt/boot /mnt/main/boot sudo mount -o bind /dev /mnt/main/dev sudo mount -o bind /proc /mnt/main/proc sudo mount -o bind /sys /mnt/main/sys |
Next, register the ARM executable format with the QEMU static binary.
| echo ':arm:M::\x7fELF\x01\x01\x01\x00\x00\x00\x00\x00\x00\x00\x00\x00\x02\x00\x28\x00:\xff\xff\xff\xff\xff\xff\xff\x00\xff\xff\xff\xff\xff\xff\xff\xff\xfe\xff\xff\xff:/usr/bin/qemu-arm-static:' > /proc/sys/fs/binfmt_misc/register |
Now, you can chroot into /mnt/main
If you get an error stating that ‘/bin/bash’ was not found, you may have to run
| sudo chroot /mnt/main qemu-arm-static /bin/bash |
Once you’ve chrooted in, update the system.
| apt-get update apt-get upgrade apt-get dist-upgrade |
If you get an error along the lines of qemu: uncaught target signal 4 (Illegal instruction) - core dumped, edit /etc/ld.so.preload and comment out the lines in the file.
Next, you’ll need to install and run rpi-update.
| apt-get install rpi-update rpi-update |
Once the update is completed, edit the /boot/config.txt file. Add these lines to the end of the file and save.
| enable_uart=1 dtoverlay=pi3-miniuart-bt |
Unmount the microSD card and insert it into your Pi. Connect the appropriate pins for your Pi using your USB-to-TTL serial cable and plug it into your host. Instructions for this can be found at http://workshop.raspberrypiaustralia.com/usb/ttl/connecting/2014/08/31/01-connecting-to-raspberry-pi-via-usb/. Note that if you’re going to use an external power source, you do not need to connect the 5V pin from the serial cable. Connecting to the 5V pin while an external power source is connected may damage your Pi, so be careful!
You should then be able to access your Pi using screen (or your preferred serial client). Note that /dev/ttyUSB0 is the port attached after the cable was connected. To find out what port your USB cable is attached to, you can run dmesg | tail after you connect the cable.
| screen /dev/ttyUSB0 115200 |
If you see a blank screen, your Pi has probably already finished booting up, so just type your login username and press Enter. Alternatively, you can reboot your Pi (without disconnecting the USB cable from your host) and then you should be able to see the boot messages in the serial console before the login prompt is displayed.
Configure Pi 3 WiFi from the command line
After you’re logged in, you’ll need to configure your WLAN connection. Just edit /etc/wpa_supplicant/wpa_supplicant.conf and add the following lines replacing [networkssid] and [key] with the WiFi SSID and the access key respectively:
| network={ ssid="[networkssid]" psk="[key]" } |
Save the file and then run the following commands
| sudo ifdown wlan0 sudo ifup wlan0 |
Next, check if the connection was successfully established. If you see inet addr after running the ifconfig command, then you’re connected to the network and you can SSH in (after raspi-config) from a different device on the network.
Enable I2C and SSH with raspi-config
With raspi-config, you can make a number of configuration changes to your Pi 3. Enabling SSH is required for remote access and I plan to use I2C to connect to an Arduino Mega in order to control the pins, so I2C has to be enabled as well. To enable both, launch raspi-config.
Then select Advanced Options, and then enable the SSH and I2C options. You can also explore the other configuration settings and modify them to suit your needs.
What now?
That’s it! I will be writing about the software I’m installing on the Pi 3 relating to my autonomous robot project over the next few posts. I will also create posts related to the PINE64 once I have the board in my hands. Hopefully, very soon!