4 Dec 2017 Update
These instructions will not work with the latest versions of Mono and MonoDevelop from github. I tried compiling from scratch on a new image, and they will work with the following versions listed below. You can checkout the specific tags immediately after cloning the corresponding repositories before you start building.
Mono 4.8.1.0 –git checkout tags/mono-4.8.1.0
MonoDevelop 6.1.0.5441 –git checkout tags/monodevelop-6.1.0.5441
My PINE64 is here and the first thing I decided to do was build MonoDevelop which I’ll use to manage C# projects, since most of the code I’ll be writing for my autonomous project will be in C#. I’m using the longsleep Ubuntu Xenial image as a base, so these instructions assume that this is what you have installed. You can adapt as required based on your distro.
Of course, the easiest way to get MonoDevelop installed is by using the package manager. The version is also fairly recent (4.2.1.102), so you can choose skip the rest of this post if you prefer. Simply run the apt-get install command and all required dependencies will also be automatically installed.
1 | sudo apt-get install monodevelop |
Most of the steps will be similar to the MonoDevelop for Raspberry Pi build post, but we’ll be skipping fsharp altogether. I cloned the fsharp repository but the make process failed due to the following error:
1 | * Assertion at mini-arm64.c:936, condition `arm_is_bl_disp ((code), (target))' not met |
F# is only required for the fsharpbindings extension and I don’t plan on using that. There appears to be an fsharp package which you can install using apt, but this will also install the mono 4.2.1 dependencies. If you’re fine with using an older version of mono and would still like to build MonoDevelop, then you can also skip the steps up till Build MonoDevelop.
So let’s get started!
Install all prerequisites
Git is required to clone the source repositories for Mono, MonoDevelop and dependencies. The other packages are required for building MonoDevelop dependencies from source.
1 | sudo apt-get install autoconf automake build-essential cmake gettext git libgdiplus libglade2-dev libgnome2-dev libgnomecanvas2-dev libgnomeui-dev libgtk2.0-dev libssh2-1-dev libtool libtool-bin |
Pre-build: NuGet certificates
The MonoDevelop build process makes use of NuGet at certain points. You will need to import certificates into your certificate store using the following commands.
1 2 | sudo mozroots --import --sync sudo certmgr -ssl -m https://nuget.org |
Build Mono
This step is fairly straightforward. Clone the mono source repository and run the build process.
1 2 3 4 5 | git clone https://github.com/mono/mono ./autogen.sh --prefix=/usr make get-monolite-latest make -j 4 sudo make install |
This build will take a while. If you wish to run the mono and mcs test suites, you can do a make check before make install.
Build MonoDevelop dependencies
MonoDevelop requires gtk-sharp and gnome-sharp to be installed on the system. To build gtk-sharp.
1 2 3 4 5 | git clone -b gtk-sharp-2-12-branch --single-branch https://github.com/mono/gtk-sharp cd gtk-sharp ./bootstrap-2.12 --prefix=/usr make -j 4 sudo make install |
gnome-sharp follows a similar process.
1 2 3 4 5 | git clone https://github.com/mono/gnome-sharp cd gnome-sharp ./bootstrap-2.24 --prefix=/usr make -j 4 sudo make install |
Some reference PCL Assemblies are required for the build to complete. You will need to build a deb package and install following the instructions below.
1 2 3 | git clone http://github.com/directhex/xamarin-referenceassemblies-pcl cd xamarin-referenceassemblies-pcl/debian nano control |
Remove mono-xbuild from the list of dependencies in the control file, save and close. Then proceed with the following commands.
1 2 3 4 | cd .. debuild -i -us -uc -b cd .. sudo dpkg -i referenceassemblies-pcl_2014.04.14-1_all.deb |
Build MonoDevelop
First, we clone the monodevelop repository and initialise the submodules using git.
1 2 3 | git clone https://github.com/mono/monodevelop cd monodevelop git submodule update --init --recursive |
Next, we remove references to fsharp. The assumed working directory for these steps is the top-level monodevelop source directory.
1 2 | cd main nano Makefile.am |
Remove the external/fsharpbinding/MonoDevelop.FSharpBinding/FSharpBinding.addin.xml \ line, save the file and close.
1 2 | rm -r external/fsharpbinding nano configure.in |
Comment out or remove the following lines in the file and save your changes. To comment out the lines, simply prefix each line with the # character.
1 2 3 | if test "x$FSHARPC" = "x" ; then AC_MSG_ERROR([Can't find "fsharpc" in your PATH]) fi |
Then we can go on to build the IDE.
1 2 3 4 | cd .. ./configure --prefix=/usr --profile=stable make -j 4 sudo make install |
You can run mono main/.nuget/NuGet.exe update -self if you get the following error after running make.
1 2 | Unable to find version '2.8.2' of package 'NuGet.CommandLine'. Unable to find version '2.6.4' of package 'NUnit.Runners'. |
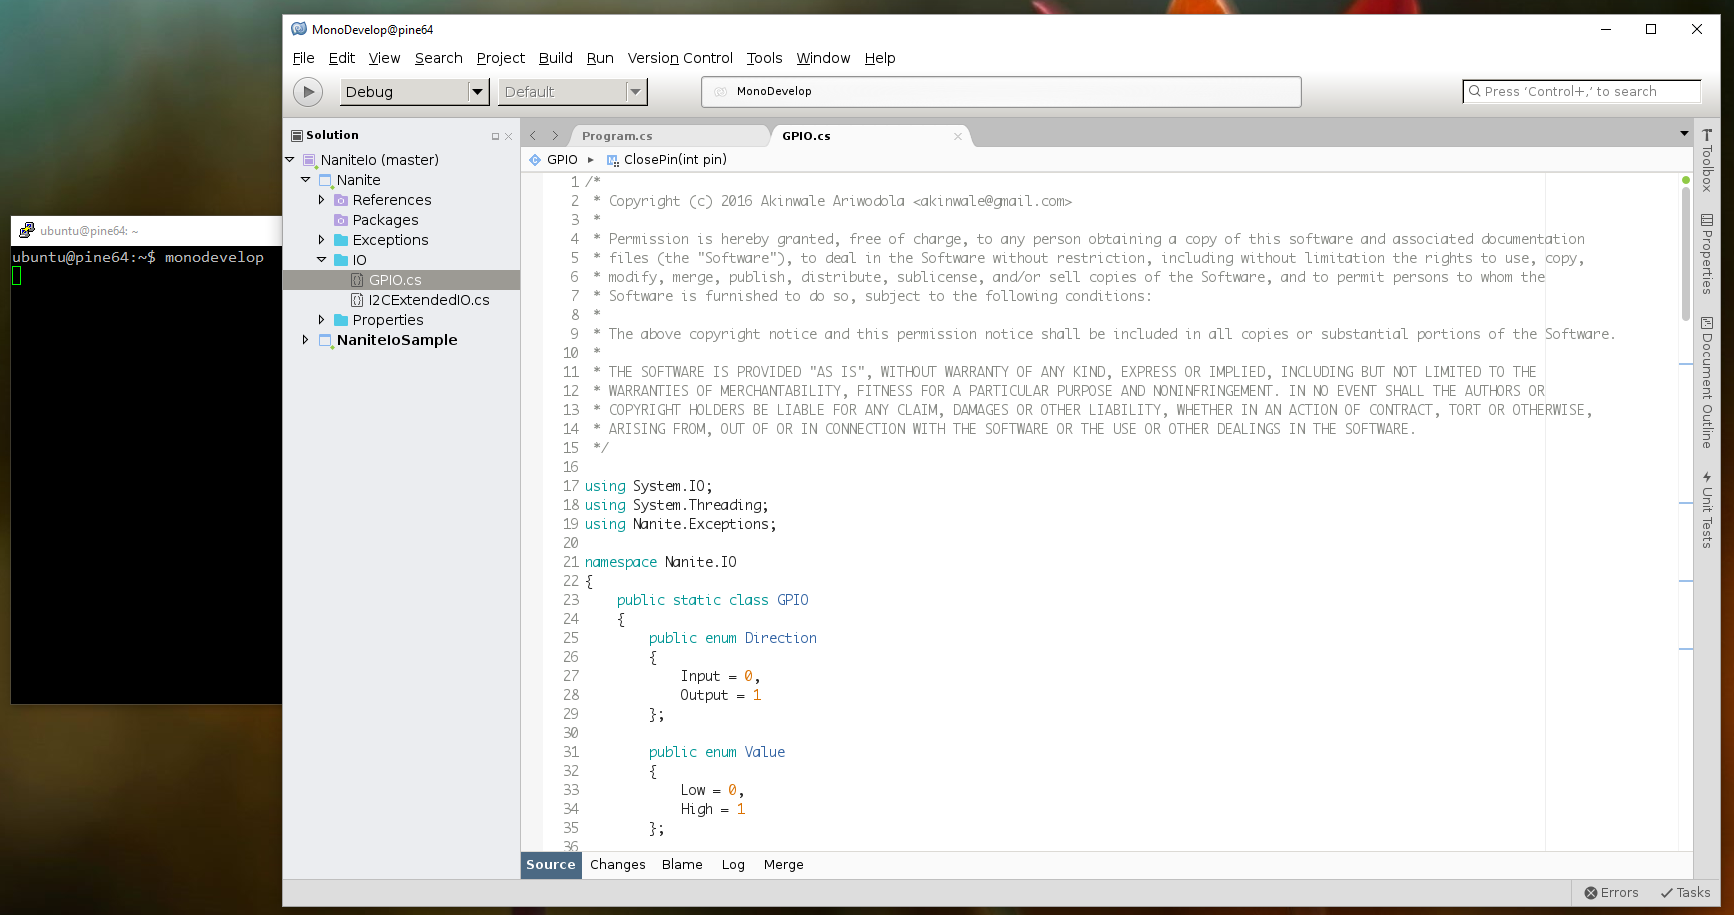
Once the build is successfully completed, you can run the application using monodevelop. If you have X11 forwarding enabled for your SSH session, you should see the MonoDevelop IDE on your screen after a couple of seconds.
